Building apps has never been easier. With no-code platforms, anyone can create apps. Today, we will learn how to integrate third-party plugins and APIs in your no-code app. This will help you add more features to your app.
What is a No-Code App?
A no-code app is an app that you build without writing code. You use a visual interface to drag and drop elements. This means you can build apps quickly and easily.

Credit: www.weweb.io
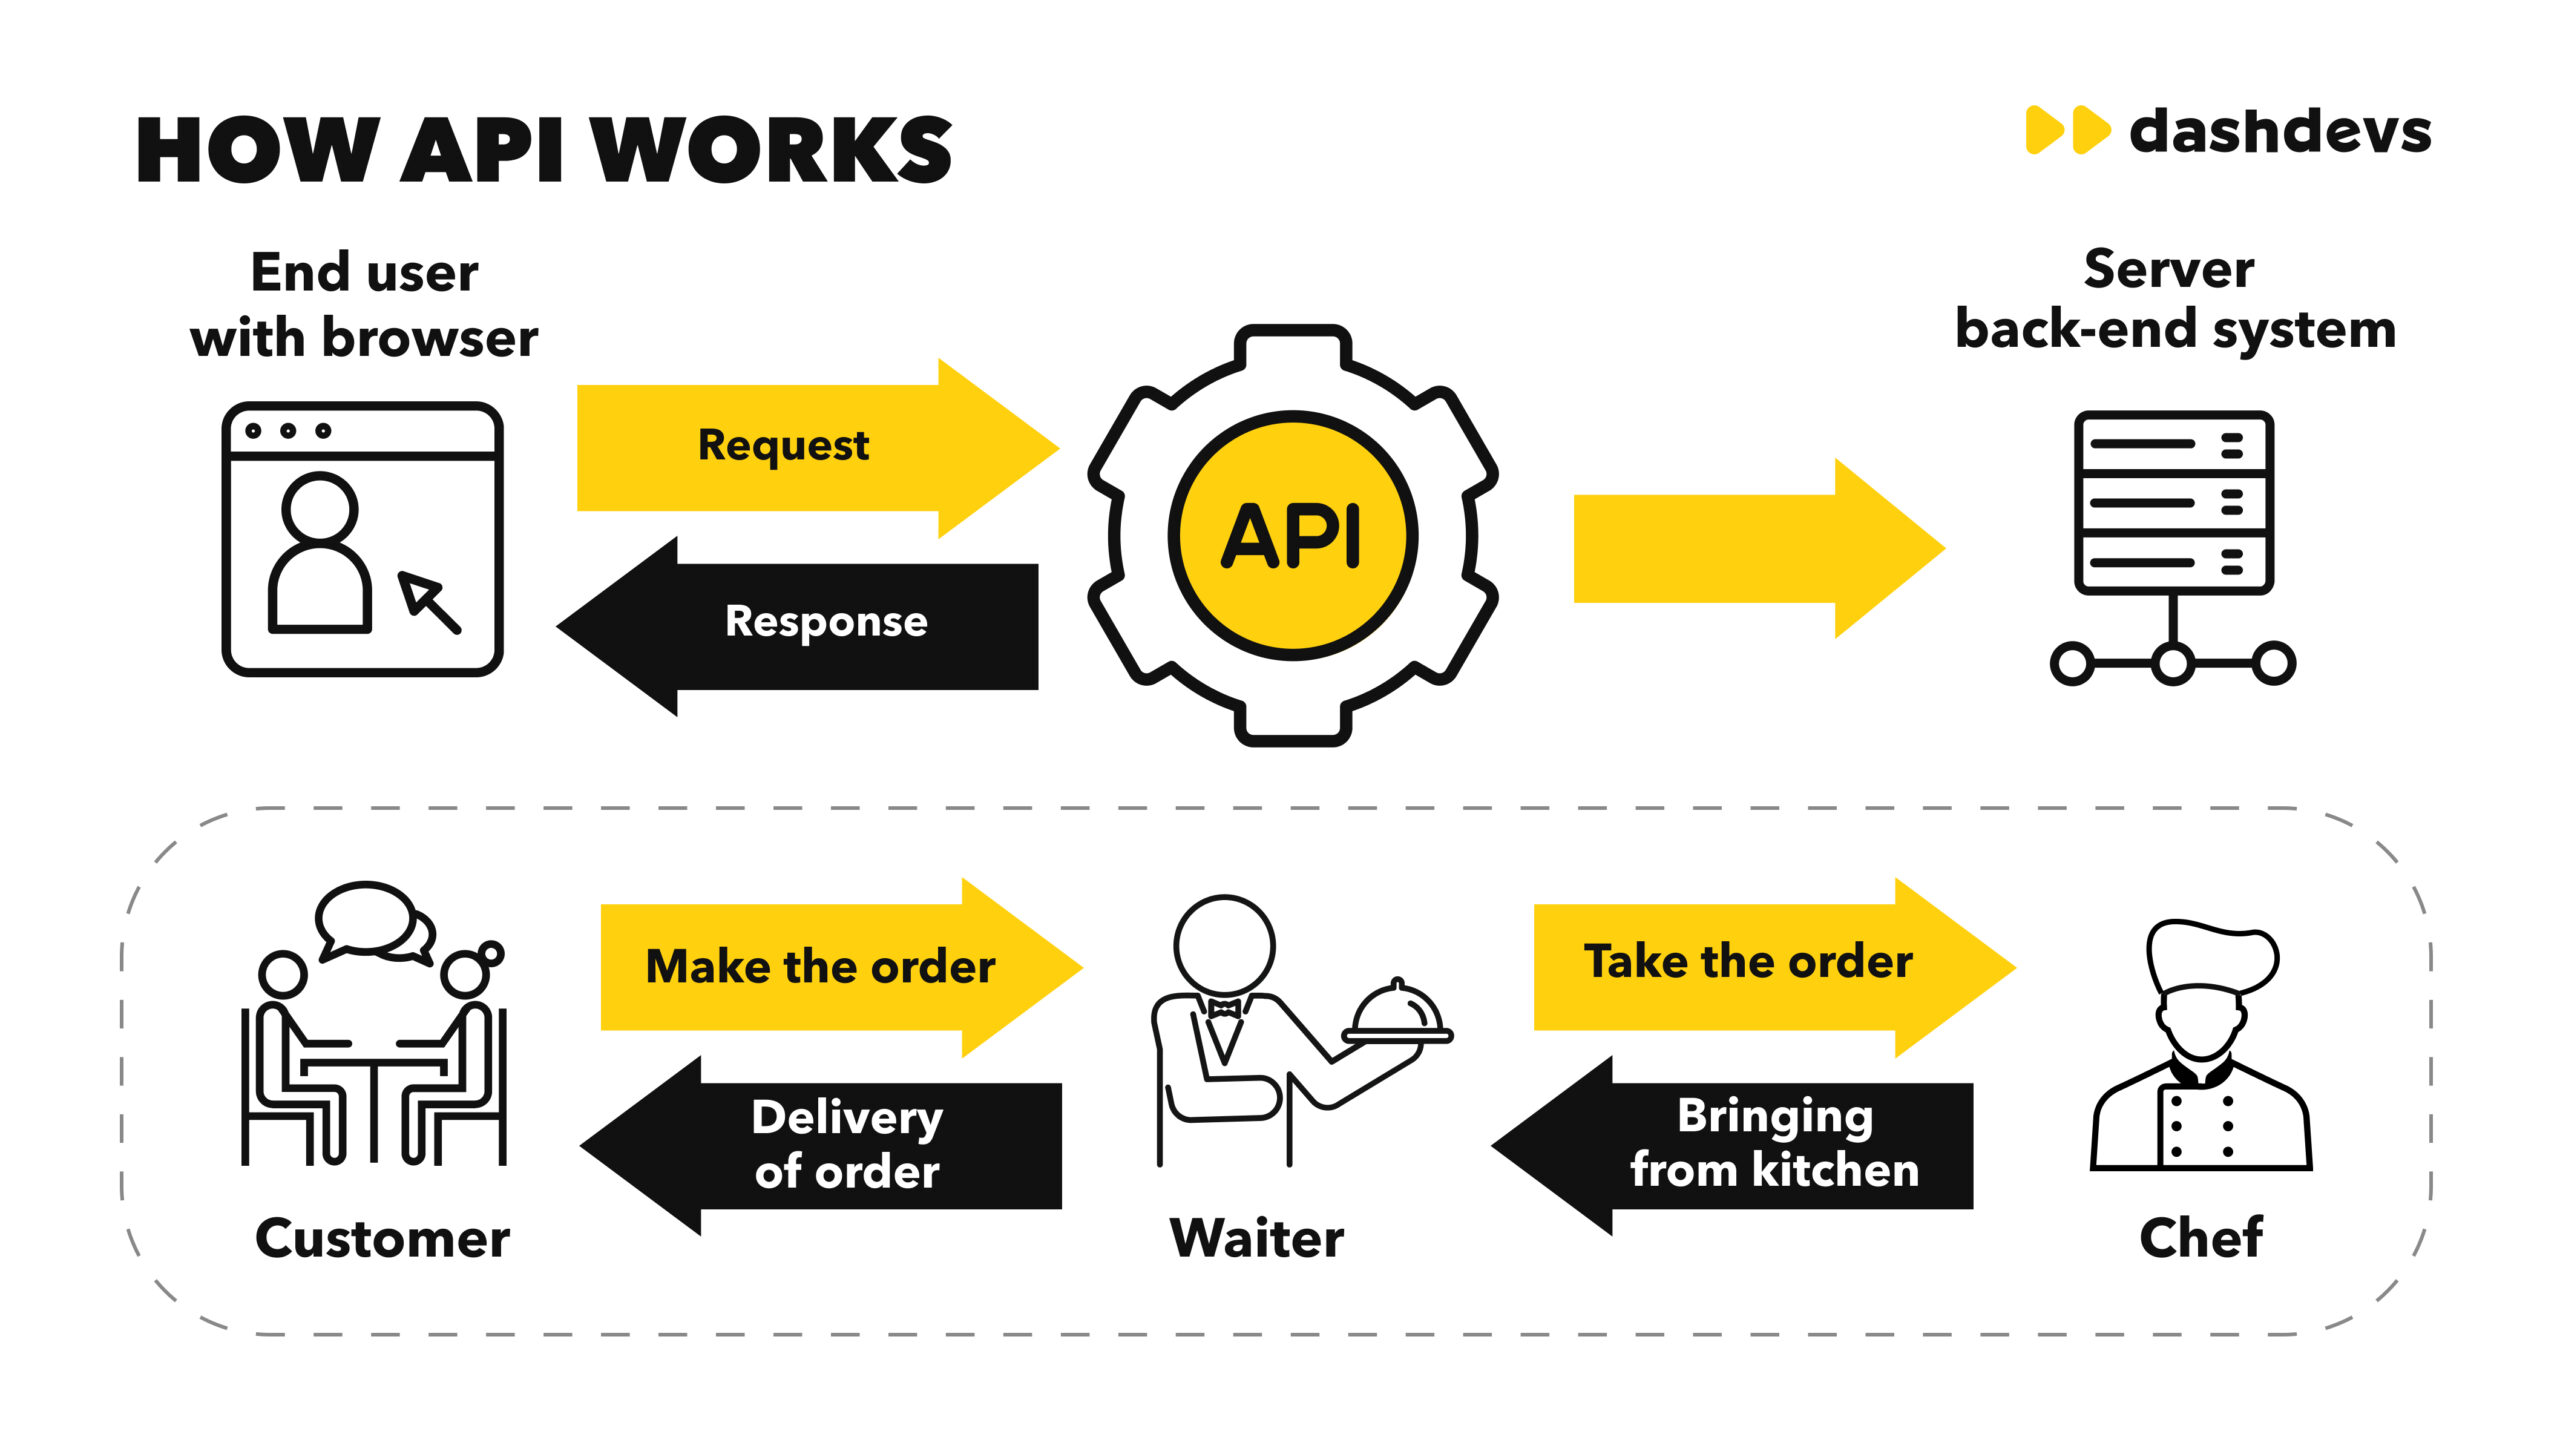
What Are Third-Party Plugins and APIs?
Third-party plugins are small tools. They add extra features to your app. APIs, or Application Programming Interfaces, let your app talk to other apps. They help you get information from other services.
Why Use Third-Party Plugins and APIs?
Third-party plugins and APIs make your app better. They save you time. You don’t need to build everything from scratch. You can add new features easily.
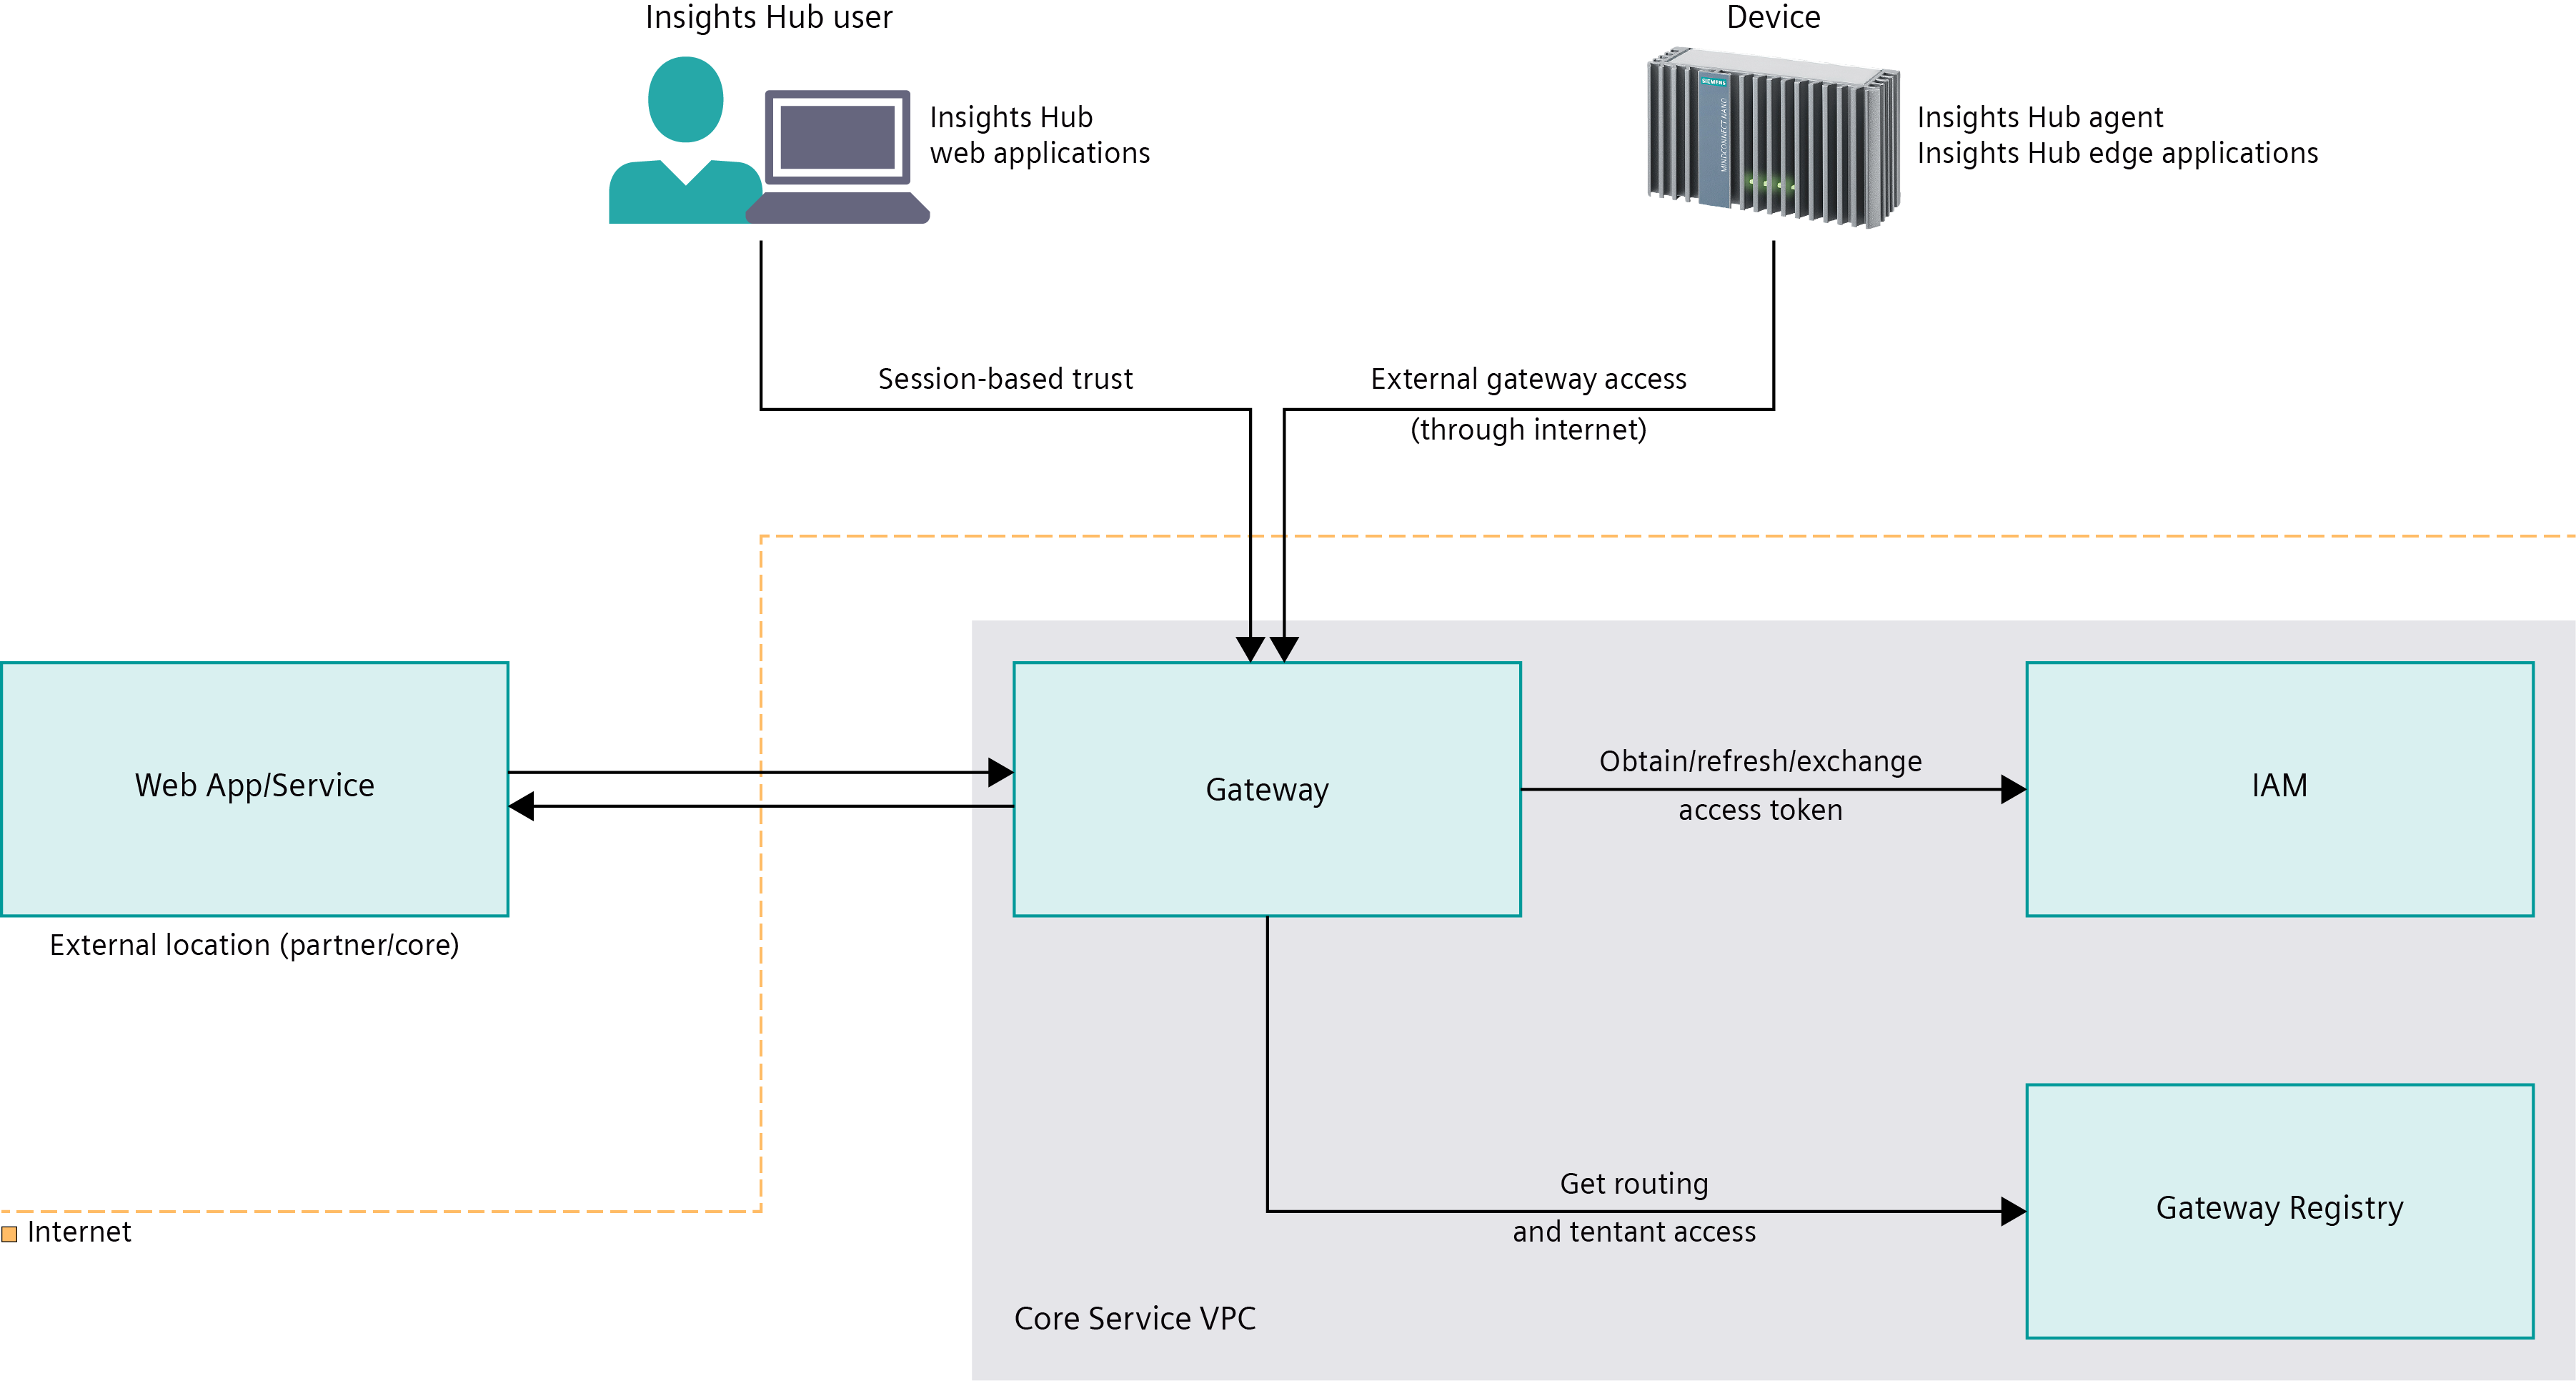
Credit: documentation.mindsphere.io
Step-by-Step Guide to Integrate Third-Party Plugins and APIs
Now, let’s learn how to add these plugins and APIs to your no-code app. We will use Bubble, a popular no-code platform.
Step 1: Choose The Right Plugin Or Api
First, decide what feature you need. Do you want to add a map? Or maybe you want to send emails? Look for a plugin or API that does this.
Step 2: Sign Up For The Service
Next, sign up for the service that provides the plugin or API. Many services offer free plans. Make sure to read the terms and conditions.
Step 3: Get Your Api Key
After signing up, you will get an API key. This key lets your app talk to the service. Keep it safe. Do not share it with anyone.
Step 4: Open Your No-code App Builder
Now, open your Bubble account. If you don’t have one, sign up here. Bubble is easy to use. It helps you build apps quickly.
Step 5: Add The Plugin
In Bubble, go to the Plugin tab. Click on “Add Plugin.” Search for the plugin you need. Click “Install.”
Step 6: Configure The Plugin
After installing, you need to configure the plugin. Enter your API key. Follow the instructions given by the plugin maker.
Step 7: Test Your App
Now, test your app. Make sure the new feature works. If it doesn’t, check the configuration. You can also look for help in the Bubble community.
Examples of Popular Plugins and APIs
Here are some popular plugins and APIs you can use:
- Google Maps API: Add maps to your app.
- SendGrid API: Send emails from your app.
- Stripe API: Accept payments in your app.
- Zapier: Connect different apps and automate tasks.
Tips for Using Third-Party Plugins and APIs
Here are some tips to help you:
- Always read the documentation. It will help you understand how the plugin or API works.
- Test your app often. This will help you find and fix any problems.
- Join communities. Other users can help you with questions or issues.
Frequently Asked Questions
What Are Third-party Plugins?
Third-party plugins are external tools that extend your app’s functionality.
How Do Third-party Apis Work?
Third-party APIs allow your app to communicate and fetch data from other services.
Are Third-party Plugins Secure?
Yes, reputable third-party plugins undergo rigorous security checks.
Can I Integrate Multiple Apis?
Yes, you can integrate multiple APIs for diverse functionalities.
Conclusion
Integrating third-party plugins and APIs in your no-code app is easy. It makes your app more powerful. You can add new features quickly. Follow our guide and start building amazing apps today.
For more information, visit Bubble. This platform helps you build scalable apps without writing code.