Tools like Snagit, Lightshot, and Greenshot are excellent for creating tutorials with screenshots. They offer user-friendly interfaces and robust features.
Creating tutorials with screenshots enhances learning and engagement. Visual aids help users understand complex instructions quickly. Tools like Snagit, Lightshot, and Greenshot simplify the process of capturing and editing screenshots. Snagit offers advanced editing options and templates. Lightshot is lightweight and allows quick sharing.
Greenshot is open-source and highly customizable. These tools streamline tutorial creation, making it efficient and effective. Screenshots clarify steps, ensuring users follow along easily. Investing in the right tool can make a significant difference in the quality of your tutorials. Select a tool that best fits your needs and start creating impactful tutorials today.
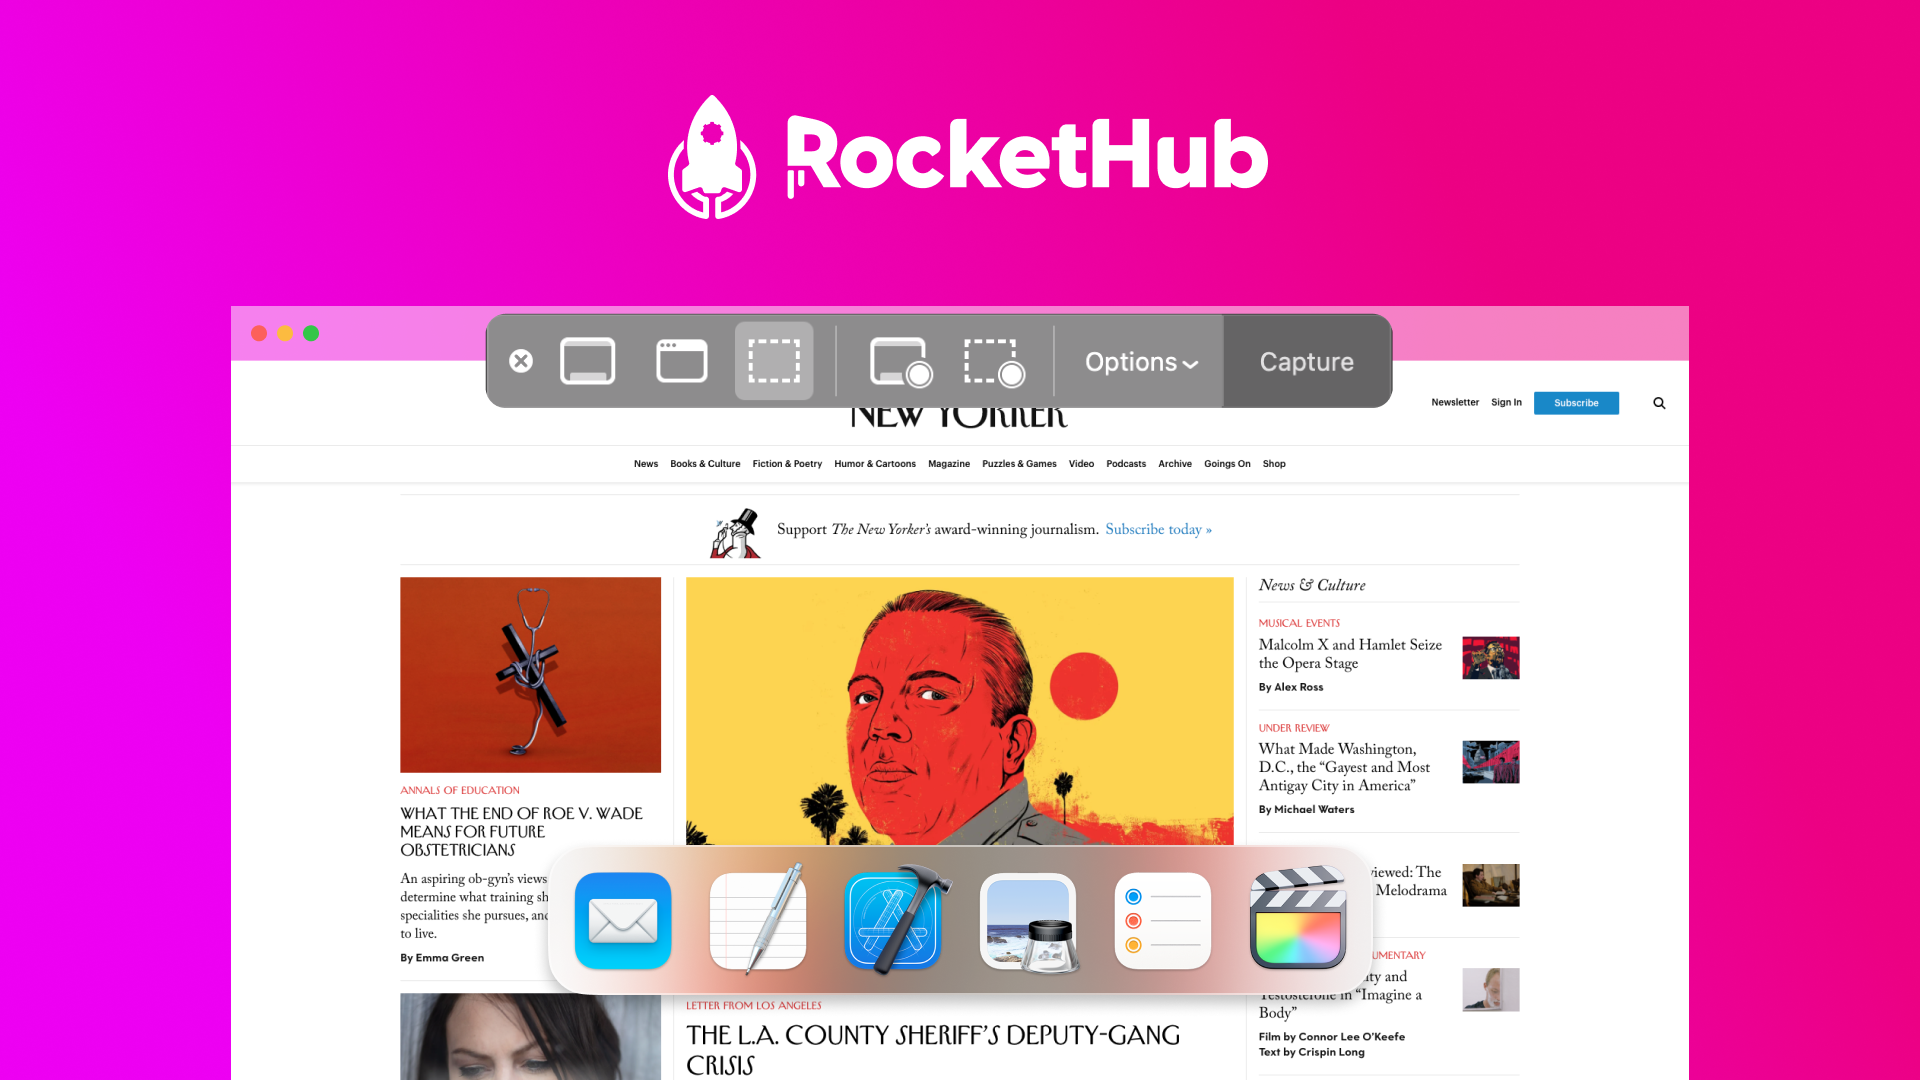
Credit: www.rockethub.com
Top Tools For Tutorial Creation
Creating tutorials with screenshots is essential for clear and effective learning. Screenshots provide visual guidance, making complex steps easier to understand. Below, we explore some top tools for creating high-quality tutorials.
Introduction To Tutorial Tools
Tutorial tools simplify creating step-by-step guides with screenshots. These tools help capture, edit, and annotate images for better clarity. Choosing the right tool can save time and improve the tutorial’s quality.
Importance Of Quality Screenshots
Quality screenshots enhance the learning experience. Clear, detailed images help users follow instructions more easily. Blurry or unclear screenshots can confuse readers.
Here are some benefits of using quality screenshots:
- Visual Clarity: Clear images help users understand instructions.
- Engagement: High-quality visuals keep readers engaged.
- Professionalism: Quality screenshots make tutorials look professional.
| Tool | Features | Platform |
|---|---|---|
| Snagit | Screen capture, editing, annotations | Windows, Mac |
| Lightshot | Quick screenshots, online editing | Windows, Mac, Browser |
| Greenshot | Capture regions, add annotations | Windows |
| Loom | Screen recording, webcam, instant sharing | Windows, Mac, Browser |
Each tool offers unique features to enhance your tutorials. Choose based on your specific needs and platform compatibility.
Snagit
Creating tutorials with screenshots can be a breeze using the right tool. Snagit is one of the top tools for this purpose. It offers users a wide range of features to capture, edit, and share screenshots with ease.
Key Features
Snagit stands out with its user-friendly interface and advanced tools. Below are some key features:
- Screen Capture: Capture any part of your screen or the entire screen.
- Annotation Tools: Add text, arrows, shapes, and stamps to highlight important areas.
- Video Recording: Record your screen and webcam simultaneously.
- Templates: Use pre-made templates for creating tutorials quickly.
- Panoramic Scrolling: Capture long web pages with ease.
- Cloud Integration: Save and share your work directly to the cloud.
Pros And Cons
Like any tool, Snagit has its strengths and weaknesses. Let’s break them down:
| Pros | Cons |
|---|---|
| Easy to use with a simple interface. | Not free, requires a purchase. |
| Comprehensive editing tools. | Advanced features may be overwhelming for beginners. |
| High-quality screen captures and recordings. | May consume significant system resources. |
| Regular updates and customer support. | Limited free trial period. |
Greenshot
Greenshot is a popular tool for capturing screenshots. It helps in creating detailed tutorials. This tool is free and open-source. It is easy to use and offers many features. Let’s explore its capabilities!
Key Features
- Screenshot Capture: Take quick screenshots of your screen.
- Annotation Tools: Add text, shapes, and arrows to screenshots.
- Image Editing: Crop, resize, and highlight parts of the image.
- Export Options: Save images in various formats like PNG, JPG, and GIF.
- Integration: Easily upload images to platforms like Imgur.
Pros And Cons
| Pros | Cons |
|---|---|
|
|
Greenshot makes creating tutorials simple and efficient. Capture screens, annotate images, and save in preferred formats. This tool is ideal for educators, bloggers, and tech enthusiasts.
Lightshot
Lightshot is a powerful tool for creating tutorials with screenshots. It is user-friendly and offers a variety of features to enhance your tutorials. Whether you’re a beginner or an expert, Lightshot can help you create high-quality content quickly.
Key Features
Lightshot has many features that make it stand out. Here are some key features:
- Easy-to-use interface
- Fast screenshot capture
- Basic editing tools
- Cloud storage options
- Instant sharing capabilities
With these features, Lightshot makes creating tutorials easy and efficient. The tool is especially useful for those who need to capture and share screenshots quickly.
Pros And Cons
Every tool has its strengths and weaknesses. Here are the pros and cons of using Lightshot:
| Pros | Cons |
|---|---|
| Simple and intuitive interface | Limited advanced editing tools |
| Quick screenshot capture | Requires internet for cloud storage |
| Instant sharing options | No video recording feature |
| Free to use | Ads in the free version |
Lightshot offers many benefits for creating tutorials with screenshots. Its simple interface and quick capture make it a favorite among users. Though it lacks advanced editing tools, its core features are sufficient for most tutorial needs.
Sharex
ShareX is a popular, open-source tool for creating screenshots and tutorials. Many users love it for its powerful features and flexibility. ShareX offers a variety of options to capture, edit, and share your screenshots efficiently.
Key Features
ShareX comes packed with a range of features:
- Screen Capture: Capture full screen, active window, or a custom region.
- Annotate: Add text, shapes, and arrows to your screenshots.
- Upload: Share your screenshots with quick upload options.
- Automation: Automate tasks with customizable workflows.
- Video Recording: Record screen activities with audio.
Pros And Cons
| Pros | Cons |
|---|---|
|
|
Credit: www.rockethub.com
Skitch
Skitch is a popular tool for creating tutorials with screenshots. It is simple to use and has many features. Skitch helps you capture, annotate, and share screenshots quickly.
Key Features
- Annotation Tools: Skitch offers various annotation tools like arrows, shapes, and text. These tools help highlight important parts.
- Screen Capture: Easily capture your entire screen or just a part of it. This feature is perfect for detailed tutorials.
- Image Cropping: Skitch allows you to crop images. This helps you focus on specific areas.
- Color Options: Choose from a range of colors for your annotations. This makes your screenshots more engaging.
- Sharing Options: Share your annotated screenshots directly from Skitch. You can send them via email or social media.
Pros And Cons
| Pros | Cons |
|---|---|
| Easy to use interface | Limited advanced features |
| Fast annotation tools | Not available on all platforms |
| Direct sharing options | Basic editing tools |
| Free to use | May not suit professional needs |
Best Practices For Tutorial Screenshots
Creating tutorials with screenshots can significantly enhance user understanding. It is essential to follow best practices to ensure your screenshots are clear and effective. Below are some best practices for tutorial screenshots that will help you create engaging and easy-to-follow tutorials.
Clarity And Resolution
Ensure your screenshots are of high resolution. Blurry images confuse users. Always use a tool that captures screenshots in high definition.
Keep your screenshots clutter-free. Remove any unnecessary elements from the screen. This helps users focus on the important parts.
Maintain a consistent size for all screenshots. This creates a uniform look and makes the tutorial more professional.
Annotation And Highlighting
Use annotations to explain key parts of the screenshot. Arrows, boxes, and text labels can help draw attention to important areas.
Highlight critical steps using colors. For example, use a red box to show where to click. This makes it easier for users to follow along.
Keep the annotations simple and concise. Too much text can overwhelm the user.
| Best Practices | Description |
|---|---|
| High Resolution | Ensure images are clear and not blurry. |
| Clutter-free | Remove unnecessary elements from the screen. |
| Consistent Size | Maintain a uniform look for all screenshots. |
| Annotations | Use arrows, boxes, and text labels to explain. |
| Highlighting | Use colors to draw attention to important areas. |
| Concise Text | Keep annotations simple and easy to understand. |
Choosing The Right Tool
Creating tutorials with screenshots can be a breeze with the right tool. The right tool can save time and enhance the quality of your tutorials. But how do you choose the best one for your needs? There are several factors to consider and different needs to tailor to.
Factors To Consider
When selecting a tool for creating tutorials with screenshots, consider these factors:
- Ease of Use: The tool should have a simple interface.
- Features: Look for tools with annotation and editing options.
- Compatibility: Ensure the tool works with your operating system.
- Cost: Some tools are free, while others require a subscription.
- Support: Check if the tool offers good customer support.
Tailoring To Your Needs
Different users have different needs. Choose a tool that fits your specific requirements.
| Need | Recommended Tool |
|---|---|
| Basic Screenshots | Snipping Tool |
| Advanced Editing | Snagit |
| Collaboration | CloudApp |
| Free Option | Greenshot |
Match the tool’s features with your needs for the best experience. This will ensure that your tutorials are clear, effective, and professional.
Future Trends In Tutorial Tools
The landscape of tutorial creation tools is evolving rapidly. The future trends in these tools are focusing on integrating advanced technologies. This is to enhance the user experience and streamline the tutorial creation process. Let’s explore some of the key future trends.
Ai Integration
AI integration is transforming tutorial tools. It helps create smarter and more efficient tutorials. AI algorithms can automatically capture relevant screenshots. They can also suggest the best steps to include in a tutorial.
Natural Language Processing (NLP) enables tools to understand user queries better. This allows for more intuitive and accurate responses. AI can also enhance image recognition capabilities. This helps in automatically tagging and organizing screenshots.
| AI Feature | Benefit |
|---|---|
| Automatic Screenshot Capture | Saves time and ensures accuracy |
| NLP | Improves user query understanding |
| Image Recognition | Efficient organization and tagging |
Enhanced User Experience
The focus on enhanced user experience is crucial. Tools are now more user-friendly and intuitive. This ensures that users can create tutorials effortlessly.
Modern tools feature drag-and-drop interfaces. These interfaces are easy to use, even for beginners. Interactive elements like clickable hotspots make tutorials more engaging. Users can follow along more easily.
- Drag-and-Drop Interfaces
- Clickable Hotspots
- Interactive Guides
Real-time collaboration is another trend. It allows multiple users to work on a tutorial simultaneously. This is perfect for team projects and enhances productivity.
These trends are making tutorial tools smarter and more user-centric. This ensures a seamless and efficient experience for all users.
Credit: www.google.com
Frequently Asked Questions
What Are The Best Tools For Creating Tutorials?
Several top tools for creating tutorials with screenshots include Snagit, Loom, and Camtasia. These tools offer user-friendly interfaces. They also provide a variety of features for capturing and editing screenshots. Each tool has unique advantages, making them suitable for different needs and skill levels.
How Can I Capture High-quality Screenshots?
To capture high-quality screenshots, use tools like Snagit or Greenshot. These tools allow precise screen capture. They also offer editing features to enhance your screenshots. Make sure your screen resolution is high. This ensures clarity and detail in your images.
Which Free Tools Are Good For Tutorials?
Free tools like Greenshot and Lightshot are excellent for creating tutorials. They provide basic screenshot capture features. These tools are easy to use and offer essential editing options. They are suitable for beginners and those on a budget.
Do These Tools Support Video Tutorials?
Yes, many tools like Camtasia and Loom support video tutorials. They allow you to record your screen and audio. You can also edit the video to add annotations and effects. This makes your tutorials more engaging and informative.
Conclusion
Creating tutorials with screenshots has never been easier. These tools streamline the process, making it efficient and user-friendly. Enhance your content quality and engage your audience effortlessly. Start using these tools today to produce professional, detailed tutorials. Boost your tutorial creation skills and impress your viewers with clarity and precision.